
Introduction
Choose a route by the objective on your screen and the landmark where you are standing. This Hellraiser Revival walkthrough directory currently maps the first ladder-and-passage section of Escape Charlotte. It points to a dedicated seven-step guide rather than repeating that article’s complete instructions. The collection is not presented as a full campaign walkthrough: later encounters, puzzle solutions and ending requirements remain outside the route covered here. Start at the checkpoint that matches your scene, then use the linked guide for the action and local endpoint.
Choose the route that matches your current scene
First, read the objective and any subtask shown beneath it. Escape Charlotte and Get to safety are both visible in the recorded shaft-ladder scene; the second line describes the immediate result the player is pursuing. Next, compare the physical landmark with the directory images. This avoids confusing the first chase with later appearances of the same enemy. A matching name without a matching location is not enough to apply a route safely.
The source run includes a failed attempt followed by a retry. The route article uses the successful ladder-and-passage sequence for its illustrated steps, while discussing the failed attempt separately. Video position is not a speed target for your own playthrough. Use each image to recognize a transition, not to judge whether you have arrived at the same elapsed time as the author.
Seven checkpoints in the first chase
Ladder below the barred platform
Use the first ladder as the entry marker for the illustrated chase route. This view belongs to Escape Charlotte, rather than the beginning of the campaign. If your screen matches the ladder and barred platform, open the first-chase guide at its starting step. If it does not, continue identifying your location before borrowing instructions from that page. The directory uses a physical landmark because an enemy’s name can recur at more than one point in the story. It does not assign a chapter number that has not been verified.
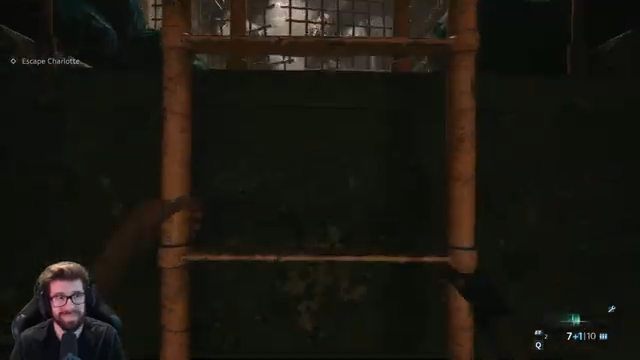
DanQ8000 · 6608.033s · recorded PC session, build unknown Upper barred walkway
The upper walkway is the next recognizable route region. Its bars, narrow walking space and light beyond the grilles distinguish it from the utility corridors farther along. Use this checkpoint if you have completed the initial climb but have lost track of the next passage. The dedicated route page contains the action and transition; this directory simply identifies where that answer applies. Do not turn the picture’s lighting or camera angle into a universal turn instruction. Compare the actual traversable space with your own scene.
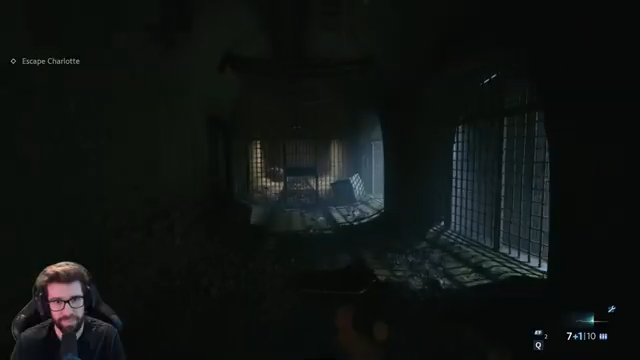
DanQ8000 · 6618.033s · recorded PC session, build unknown Barrier with Charlotte beyond it
The barrier scene places Charlotte beyond the bars while the player is close to the obstruction. It helps locate the approach to the narrow opening, not a tested safe place to stop indefinitely. If this is your matching scene, the useful question is where the route continues, rather than whether the bars make you invulnerable. The first-chase guide keeps those claims separate. The author’s commentary about rebar is not treated as a rule that every barrier protects the player throughout the game.
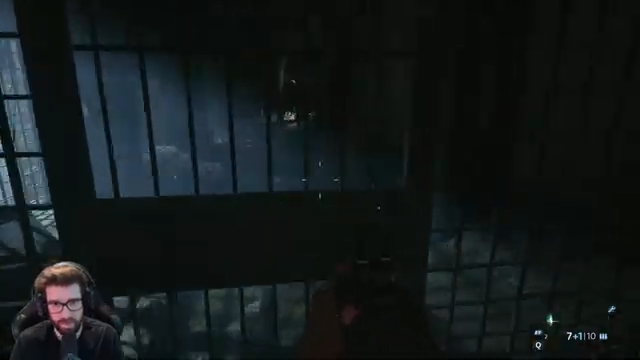
DanQ8000 · 6629.033s · recorded PC session, build unknown Narrow wall opening
The close view of the wall opening identifies the squeeze-through transition. It is a movement checkpoint, not a demonstrated combination puzzle. Use it when the upper walkway has led you to a confined passage and you need to recognize the transition into the next area. The detailed article pairs the opening with the ladder that follows it, so you can judge whether your movement has reached the expected location. No special collectible or guessed button sequence is added to this checkpoint just to make the route sound more elaborate.
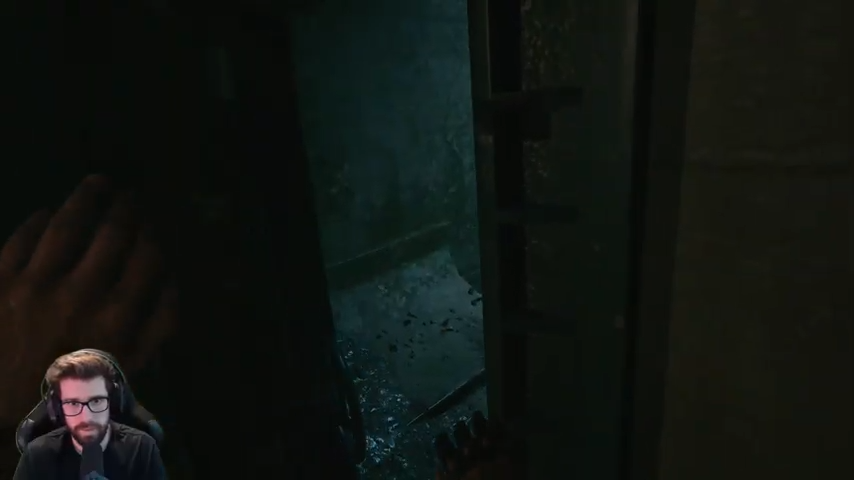
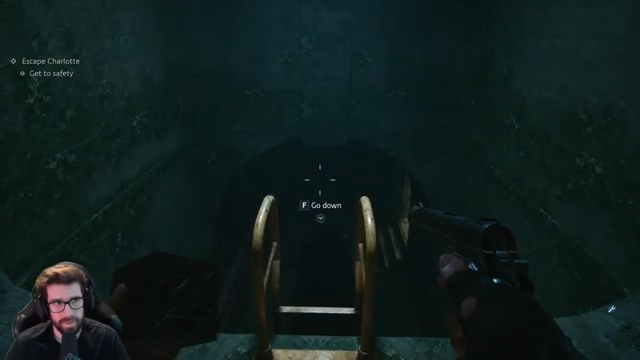
DanQ8000 · 6638.033s · recorded PC session, build unknown Shaft ladder with Go down
The shaft ladder provides both a scene and an input reference. The recorded objective reads Escape Charlotte with Get to safety underneath, and the interaction reads F Go down. This is the strongest matching point for a player already standing over the dark descent. Use the route page’s ladder step, and follow the binding displayed by your own game if it differs. The directory does not treat an achievement popup nearby as an instruction to stop or as proof that every part of the escape has finished.
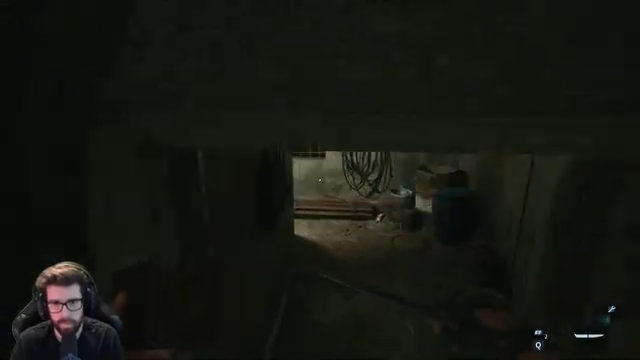
DanQ8000 · 6658.033s · recorded PC session, build unknown Lower passage beneath the framing
The lower passage is a separate checkpoint after the descent. Overhead framing and the opening ahead distinguish it from the upper barred walkway. If you are already in this lower space, return to the guide’s lower-passage step rather than starting the whole chase description again. The page explains the next visible transition without inventing a platform-specific crouch key. This is why the directory lists landmarks in order: it lets you join a bounded route at a recognizable point instead of rereading steps you have already completed.
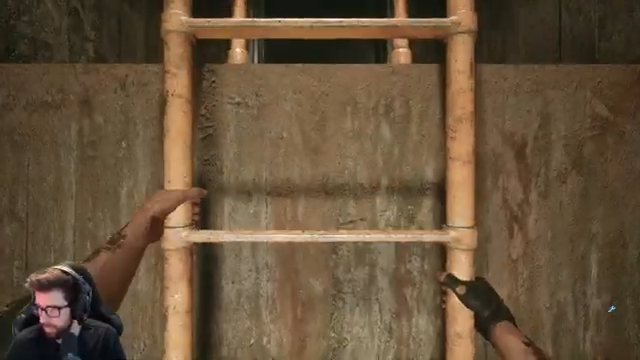
DanQ8000 · 6682.033s · recorded PC session, build unknown Later ladder and the corridor beyond
The later climbing image marks the approach to the route page’s endpoint. The following footage places the character in the corridor beyond the ladder. Use that change of location to recognize the part this guide actually covers. It does not establish completion of the entire Escape Charlotte objective. The EXIT sign and Zora encounter occur later in the source and are recorded as continuation landmarks. Their presence does not make this directory a complete answer for the combat, shopping or exploration that lies between those scenes.
DanQ8000 · 6698.033s · recorded PC session, build unknown
Know where this route stops
The first-chase article ends when the character climbs into the next corridor. That is an observed local endpoint, not an objective-complete screen. In the source, an EXIT sign is visible farther along and Zora appears in a later utility-corridor encounter. Those locations help place later footage in context, but the turns, enemies and decisions between them have not been written into the seven-step route.
If you have already reached Zora, the first ladder instructions are no longer the part you need. Look for guidance tied to the current interaction or task instead of retracing earlier steps just because Charlotte remains relevant to the story. A purchase recommendation needs the trader’s item screen and an explanation of the intended result. A later enemy encounter needs its own observed actions. Neither is automatically answered by a route that only reaches the corridor after a ladder.
Keep platform inputs separate from route geometry
The recorded player says he is on PC through the Xbox app. The game build is not visible in the material used for these checkpoints. The F Go down prompt is therefore recorded as an input from that session, not a complete mapping for every platform or remapped setup. The ladder, barrier and narrow passage can still be useful visual references when the displayed key differs.
The official PlayStation developer introduction separately identifies R2 for weapon attacks and L1 for Genesis Configuration powers on PS5. Those combat inputs do not establish how to use the shaft ladder. Keep a documented combat command separate from an interaction prompt in a different scene. When your own game presents a clear interaction, that local prompt should guide the action rather than a keyboard key carried over from someone else’s recording.
Use one guide for one player problem
A route guide answers how to move between a defined start and endpoint. A puzzle guide needs the actual mechanism, its input and a visible successful result. A combat guide needs the enemy behaviour and demonstrated response. An ending guide needs the relevant decision and outcome. Keeping those questions separate helps a player find an answer without wading through a long story recap or assuming every page offers the entire campaign.
This directory therefore keeps the first-chase article focused on its observed section. It does not list an unverified Pinhead fight, manufacture safe codes or assume a fixed chapter count. Additional route entries belong here when their starting scene, required actions and endpoint can be identified. A familiar character name or a broad video title is a useful search lead, but it is not a substitute for the action-by-action material a walkthrough needs.
Use timestamps to inspect a transition
The source is DanQ8000’s long-form gameplay recording, Jpy9jMbT4RA. The first-chase checkpoints are taken from the retry around 01:50:08 through the corridor transition just after 01:51:40. Their captions preserve the actual sampled frame times. A source timestamp helps you inspect the surrounding motion; it does not mean a still image by itself proves every action between two distant locations.
Read the detailed guide first if you want the action without playing the video. Open the source segment when a transition remains hard to recognize, and compare the entry and exit geometry with your screen. Keep the larger objective display in view as you continue. An achievement, a location sign and an objective completion are different signals, so the directory does not silently exchange one for another.
Recovered automatic subtitles and localized PC gameplay observations. Charlotte first-chase steps and the early lockpicking example are bounded observations; the full campaign, all achievements and endings remain unverified.
Common route questions
Is this a complete campaign walkthrough?
No. The current illustrated entry covers the first Charlotte ladder-and-passage section. Its endpoint is the corridor after the later climb; it does not claim the whole Escape Charlotte objective or all later routes are complete.
Should I follow a chapter number or the objective name?
Use the objective and the pictured location for this collection. A total chapter count has not been verified here, and a character can appear in more than one encounter.
Can I start halfway through the guide?
Yes, when your current scene matches a checkpoint. Use the dedicated article’s corresponding step, while retaining its platform and endpoint limits. If the scene does not match, do not apply a route based only on the enemy name.