
Quick Guide
- Climb the first ladder, follow the barred walkway, squeeze through the narrow opening, use Go down at the shaft ladder, then continue through the lower passage and climb into the next corridor.
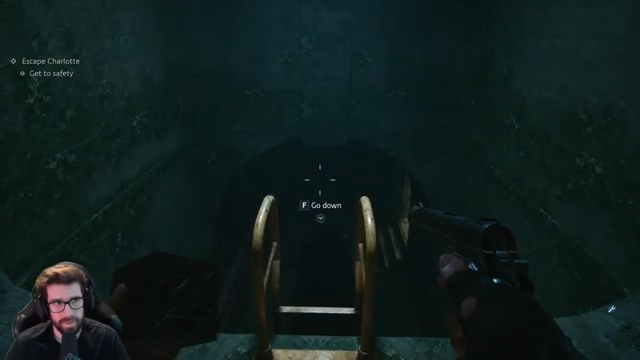
- At the descending shaft ladder, the recorded PC prompt is F Go down. Use your own displayed binding.
- Keep Escape Charlotte → Get to safety active as your reference; an achievement popup does not prove the objective has ended.
This route covers the first ladder-and-passage section of Escape Charlotte in DanQ8000’s recorded PC playthrough. Start at the ladder below the barred platform, keep moving through the upper walkway, squeeze through the narrow opening, descend the shaft ladder and use the next climb to reach the corridor beyond. The page ends at that corridor, rather than claiming the whole objective is complete. Match the scene landmarks as you go; the screenshot times are positions in the source video, not a countdown you must meet in your own run.
On this page
Check that you are at the first chase
Use this guide when the scene matches the initial barred walkways and ladder sequence, not whenever Charlotte appears anywhere in the story. The recorded run contains later Charlotte encounters as well, so the enemy name alone does not identify your location. Compare the first ladder, the upper bars and the confined opening before applying the steps. If those landmarks do not match, the safe conclusion is that this is a different part of the route; do not force an unrelated encounter into these instructions.
The demonstrated approach prioritizes movement through the escape route. The commentator says he will avoid wasting ammunition, but this page does not claim that shooting can never work or that a fixed ammunition reserve is necessary. There is no verified weapon loadout, collectible requirement or universal health threshold for this short section. Keep the displayed objective and your immediate path as the practical reference, rather than trying to reproduce the author’s inventory.
Seven steps through the first chase
Climb the first ladder
Begin at the ladder shown in the first reference image. Its upper rungs lead toward a barred platform, and the objective label already says Escape Charlotte. The recording shows the character climbing, rather than holding position and firing from the bottom. Take the ladder and continue into the passage above. Use the interaction indicated by your own game; this frame does not establish a universal climb key. Treat arriving at the upper walkway as the end of this individual step. It does not establish that Charlotte has stopped pursuing you, so keep your next movement in view instead of turning the climb into a prolonged inventory stop.
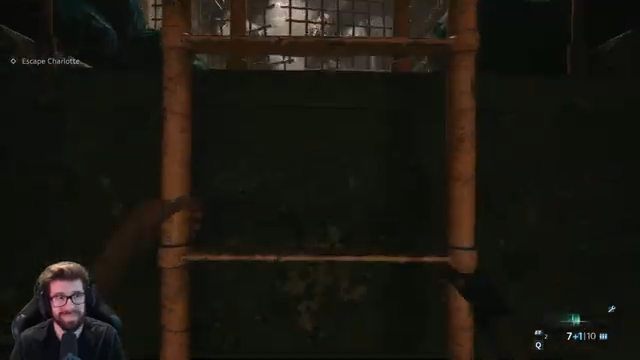
DanQ8000 · 6608.033s · recorded PC session, build unknown Follow the barred walkway
At the top, move along the narrow walkway visible between the metal bars. The reference shows a cluttered passage with cold light entering from the right-hand side of the picture. Those details help identify the correct scene; they are not instructions to turn right at every junction. Keep following the traversable passage toward its far end. The important transition is from the exposed upper walkway toward the next opening. If your surroundings instead show the later utility corridor with Zora, you have already moved beyond this first chase segment and should not retrace the route merely to match this screenshot.
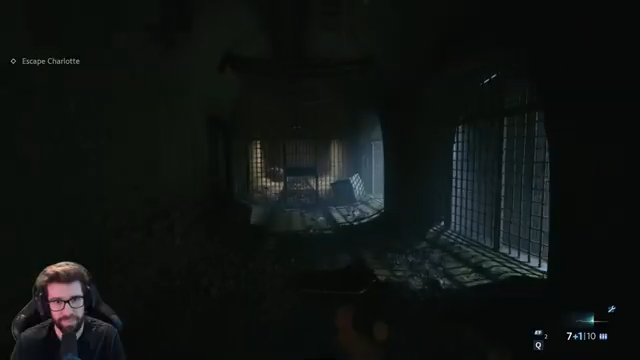
DanQ8000 · 6618.033s · recorded PC session, build unknown Find the narrow passage beyond the bars
The next sampled scene places the character close to another barred barrier, with Charlotte visible beyond it. Use the bars as a location cue, then look for the narrow passage represented in the following squeeze-through image. Do not interpret the barrier as a guaranteed safe room. The player’s earlier attempt ended in a death, and the commentator attributes that failure to delaying his sprint. That supports keeping the escape moving; it does not supply a timer or an exact damage rule. There is no verified requirement to kill Charlotte at this point. This route is about finding the traversable opening, not winning a boss fight.
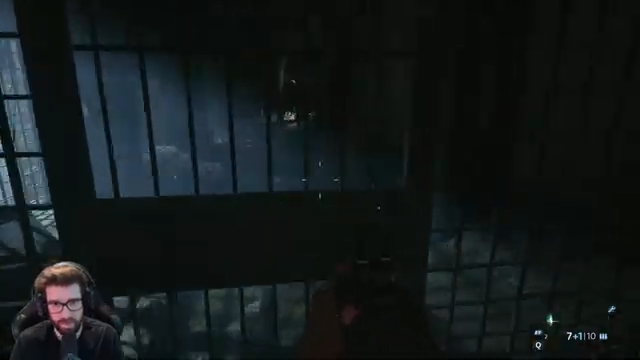
DanQ8000 · 6629.033s · recorded PC session, build unknown Squeeze through the opening
Take the narrow opening shown here. In this frame the character’s hand braces against the wall while the camera passes through a confined gap; the lower passage is visible ahead. Use that close-up geometry to distinguish this transition from the wider barred walkway. Continue through until the character is on the far side, then locate the descending ladder shown in the next step. No separate item or puzzle combination is established for this squeeze-through section. Avoid importing a guessed key from another platform: the useful confirmation is the character moving through the gap and reaching the ladder area.
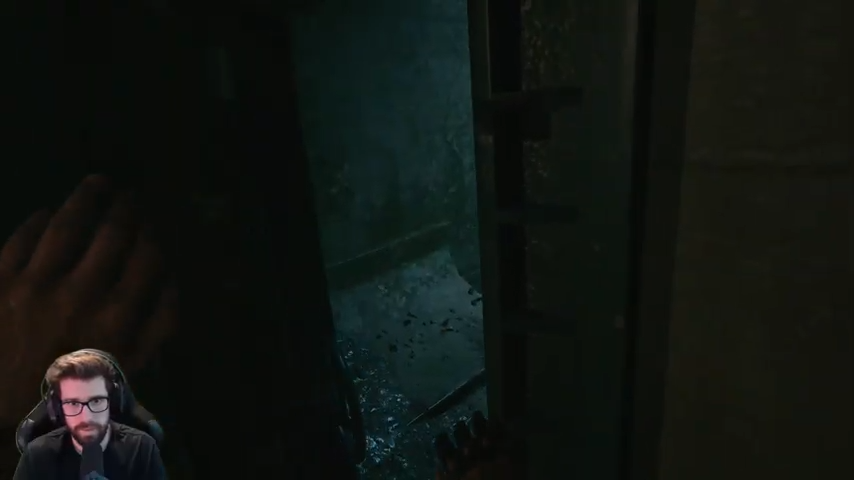
DanQ8000 · 6638.033s · recorded PC session, build unknown Use Go down at the shaft ladder
Face the ladder descending into the dark shaft. This is the clearest input checkpoint in the sequence: the objective reads Escape Charlotte, its subtask reads Get to safety, and the recording displays F Go down. On the recorded PC setup, use that interaction to begin descending. If your own screen displays another binding, follow that prompt instead of treating F as universal. The next reference point shows the character’s hands on the ladder while the objective remains visible. Starting the descent is the success signal for this step. An achievement notification around this section is not proof that the overall escape has finished.
DanQ8000 · 6658.033s · recorded PC session, build unknown Continue through the low passage
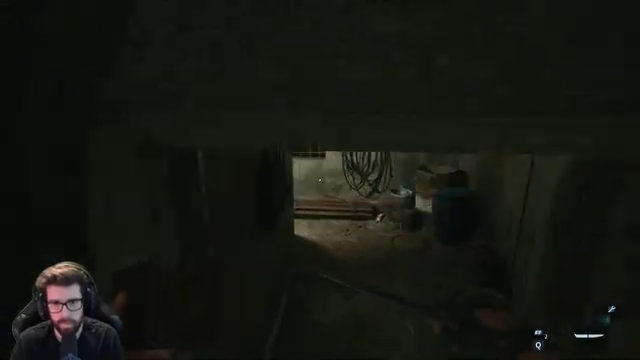
After descending, follow the low opening in the lower area. The sampled view shows overhead framing and a passage continuing ahead into a utility space. It provides a route landmark, but it does not establish an additional keyboard binding or the number of crouch presses required. Use the movement and interaction prompts actually shown by your game to clear the opening. The commentator’s remark about rebar belongs to this local scene; it is not a tested promise that every barred obstacle prevents attacks. Continue toward the next climb rather than declaring the lower passage a permanent refuge.
DanQ8000 · 6682.033s · recorded PC session, build unknown Climb out into the next corridor
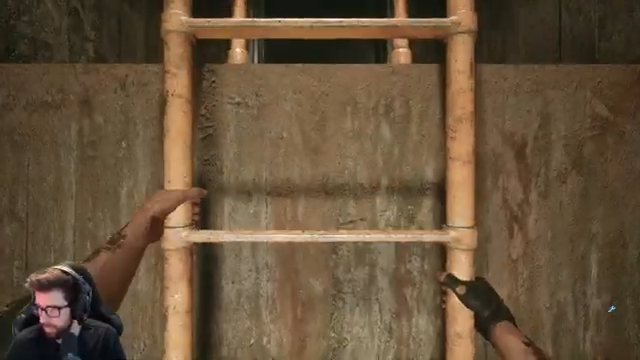
Locate the next ladder and climb toward the corridor above. The final climbing frame shows the character’s hand on the rungs; a later frame places the camera in the corridor beyond the ladder. That change of location is the endpoint covered by this page. You have completed the illustrated ladder-and-passage section, but the recording does not show an objective-complete message here. Resume following the game’s current objective from the corridor. The later EXIT sign and Zora encounter are useful continuation landmarks, not evidence that this article covers every subsequent encounter or the entire Escape Charlotte objective.
DanQ8000 · 6698.033s · recorded PC session, build unknown
What the failed attempt actually tells you
At approximately 01:49:31, the commentator reports that he has died; shortly afterward he says the section must be repeated. During the successful retry, he says he took too long to sprint because he thought he was safe. That is his explanation of his own attempt. It is useful evidence for avoiding unnecessary pauses in this chase, but it does not establish a hidden timer, guaranteed damage interval or exact safe distance from Charlotte.
The practical recommendation is to identify the next opening before stopping to inspect optional objects. If you lose the route, compare the geometry with the nearest screenshot, especially the narrow gap and the descending shaft ladder. Do not make a detour solely because the author mentions grabbing something: his commentary is uncertain about whether he actually took it, and the item is not established as a prerequisite for this sequence.
Recognize the endpoint without overclaiming safety
The endpoint on this page is a visible location transition: the character climbs the later ladder and emerges into a corridor. The earlier shaft-ladder image still displays Get to safety, and the available samples do not show that subtask being marked complete. Keep that distinction in mind when using this guide. Completing its seven local steps is not the same thing as completing every part of the larger objective.
Farther into the recording, an EXIT sign appears at approximately 01:53:25, and a utility-corridor encounter with Zora appears at approximately 01:56:45. Those points are included as source landmarks so you can recognize material beyond this page’s endpoint. The intervening turns, combat and trader decisions are not silently folded into this short route. They need their own action-by-action coverage before this can become a complete Escape Charlotte walkthrough.
If your prompt or location looks different
If the ladder shows a different input, use the binding on your own screen. F is confirmed only for the recorded PC session; the official PS5 introduction names R2 for weapons and L1 for box powers, which does not establish the PS5 ladder interaction. A visible mismatch is a reason to check the local prompt, not to repeatedly press a key borrowed from another platform.
If you cannot identify the opening, return to the nearest matching landmark in the images rather than assuming every dark doorway belongs to this route. Distinguish the upper barred passage, the tight squeeze-through, the dark shaft ladder and the low passage below it. These are separate transitions. If none matches, stop using this page for that scene and follow the game’s displayed objective; the article has a bounded starting location, not an all-purpose answer to every Charlotte encounter.
Frequently Asked Questions
Do I have to defeat Charlotte during this section?
The illustrated run follows an escape route. These samples do not establish a requirement to defeat Charlotte, nor do they prove she is invulnerable. Follow the visible Get to safety subtask for this section.
Does the achievement notification mean I am safe?
No completion claim is supported by that notification. The commentator notes an achievement near the ladder, but the Get to safety subtask remains visible in the surrounding footage. Continue using the objective display as your reference.